Strategy
Verify Facebook Domain Fast for Insurance Agents, with Registrar Fixes
By Nick Georgalos · 13 min read · Updated 2026-09-18
Verify Facebook Domain Fast for Insurance Agents, with Registrar Fixes ! Administrator reviewing domain verification settings Verify your root domain in Meta Business Suite under Brand safety → Domains, using a DNS TXT record, a meta tag, or an HTML file upload.

Verify your root domain in Meta Business Suite under Brand safety → Domains, using a DNS TXT record, a meta tag, or an HTML file upload. Any single method proves you control the site. Verification usually finishes in minutes but can take up to 72 hours if DNS changes need to propagate, and it unlocks Pixel event configuration, Aggregated Event Measurement, link editing, and commerce features tied to that domain.
TL;DR:
- Verifying your domain in Meta Business Suite typically takes minutes but can require up to 72 hours if DNS changes need to propagate.
- The recommended verification method is DNS TXT record if you control your domain registrar, as it survives site updates better than meta tags or HTML files.
- Proper domain formatting excludes “https://”, “http://”, or “www.”, and using a subdomain or subdirectory causes verification failures.
- Verification unlocks features like Pixel event configuration, link editing, and product tagging, but only after successful validation.
- Troubleshooting verification failures involves checking DNS propagation, source code, record placement, and record formatting, with diagnostic tools like Facebook Sharing Debugger.
Table of Contents
- Quick Checklist to Verify Your Domain on Facebook Right Now
- DNS TXT, Meta Tag, or HTML File: Which Method Fits Your Setup
- Where to Find Domain Settings Inside Meta Business Suite
- Why Domain Verification Fails and How to Fix It Fast
- What Verifying Your Domain Actually Unlocks
- How FexAds Handles Verification and Tracking Setup for Agents
- A Practitioner’s Take on Getting This Right the First Time
- Let FexAds Handle Setup So You Can Focus on Selling Policies
- Where to Find the Official Verification Documentation
- Sources
- FAQ
Quick Checklist to Verify Your Domain on Facebook Right Now
If you just need to get this done, follow these steps in order. Each one maps to a specific screen inside Meta Business Suite, so you won’t be hunting through menus.
- Go to Business Settings → Brand safety → Domains and click Add.
- Type your root domain only, dropping “https://” and “www.” Meta’s own documentation on domain verification is explicit about this format, and it’s the number one reason first attempts fail.
- Pick a verification method based on what you can access: DNS TXT if you control the registrar, a meta tag if you can edit the site’s HTML head, or an HTML file if you have FTP or file manager access.
- For DNS TXT, copy the value Meta gives you and paste it into a new TXT record at your domain registrar.
- For the meta tag, paste the snippet into the
<head>section of your homepage, before any other head tags load. - For the HTML file, download it and upload it to your site’s root directory, not a subfolder.
- Return to Meta Business Suite and click Verify. Give DNS changes time to spread across the internet before you panic.
- If verification fails, run a quick check with Facebook’s Sharing Debugger, view your page’s source code, or run a DNS TXT lookup to confirm the record actually saved.
Pro Tip: Do the DNS TXT method first if you have registrar access. It survives site redesigns and CMS migrations that would wipe out a meta tag or delete an HTML file, so you never have to re-verify after a routine update.
DNS TXT, Meta Tag, or HTML File: Which Method Fits Your Setup
Meta gives you three ways in, and you only need to succeed at one. The right choice depends on who controls what.
DNS TXT record. Log into your domain registrar (GoDaddy, Namecheap, Cloudflare, wherever you bought the domain), find the DNS management panel, and add a new TXT record. Most registrars want you to leave the Host field as @ or blank to apply the record to the root domain. A few oddball registrars require you to type the full domain name instead. Once saved, TXT records typically show up within an hour, though full propagation across every DNS resolver can stretch out. You can check status with any public DNS lookup tool before clicking Verify again.
Meta tag. This is the fastest option if you can edit your site’s code directly. Paste the tag into the <head> of your homepage, save, and confirm it’s live by right-clicking the page and choosing “View Page Source.” If you’re on WordPress, Wordpress walks through pulling the code from Business Manager and dropping it into Jetpack’s site settings or a custom header field, depending on your plan. Caching plugins are the usual culprit when this method fails. Clear the cache after adding the tag, not before.
HTML file upload. Download the file Meta provides, keep the filename exactly as given, and upload it to your website’s root folder using an FTP client or your host’s file manager. Test it by typing the direct file URL into a browser. If you get a 404 or a redirect instead of the raw file, verification will fail every time.
- Site builders like Kajabi and Ecwid often restrict file uploads, so DNS TXT or meta tag insertion tends to work better there.
- Ecwid’s own guidance for verifying a domain to sell on Facebook and Instagram confirms verification is mandatory before product tagging goes live, not optional.
- Kajabi’s documentation notes you generally need a custom domain rather than a Kajabi subdomain, since Meta can’t verify ownership of shared platform subdomains.
Pro Tip: If you manage multiple client domains, standardize on one verification method across all of them. Mixing DNS TXT for one client and HTML files for another turns troubleshooting into a memory test six months later.
Where to Find Domain Settings Inside Meta Business Suite
The path is consistent no matter which industry you’re in: Business Settings → Brand safety → Domains → Add → Create new domain. From there you’ll see three tabs, one per verification method, and you only need to complete one of them.
A few practical notes on the interface itself:
- The Verify button stays grayed out or returns an error until Meta’s system detects the correct value at the correct location. It won’t tell you which specific check failed, which is why the troubleshooting steps later in this guide matter.
- You need admin-level access to the Business Manager account to add or verify a domain, and Meta increasingly requires two-factor authentication on the account before it lets you make changes here.
- Once verified, the domain appears in the Domains list with a green checkmark, and you can assign link-editing permissions to specific team members or partners from that same screen.
- A verified domain also becomes selectable when configuring Pixel events, so this step usually happens before deeper tracking setup, not after.
Losing admin access mid-setup is more common than people expect, especially at agencies where account ownership changes hands. Confirm you’re logged into the right Business Manager profile before you start; verifying a domain under the wrong account is a frustrating hour to lose.
Why Domain Verification Fails and How to Fix It Fast
Most failures trace back to one of a handful of causes, and you can usually diagnose the problem yourself in under ten minutes.
- Check the domain format. Re-enter it without “https://,” “http://,” or “www.” A subdirectory like
yoursite.com/blogwon’t verify either. Meta’s documentation is direct about needing the root domain, not a subdomain. - Confirm DNS propagation. Run a public DNS lookup for your TXT record and compare it against the exact value Meta gave you. Propagation can take up to 72 hours depending on your registrar and your DNS provider’s refresh interval.
- View your page source. For the meta tag method, the tag has to appear in the raw HTML of the first page that loads at your root domain, not one injected by JavaScript after the page renders, and not hidden behind a caching layer serving an old version.
- Test the HTML file’s direct URL. If it redirects to another page or returns an error, Meta can’t read it. Fix the redirect or re-upload to the correct folder.
- Check the registrar’s Host field convention. Some want
@, some want it left blank, and a few want the full domain typed out. Getting this wrong is the single most common DNS TXT mistake. - Rule out a CDN or caching service. Services like Cloudflare sometimes cache an old version of your head tags. Purge the cache and try again.
Diagnostic tools do most of the heavy lifting here. Facebook’s own Sharing Debugger, a browser’s view-source function, and any DNS TXT lookup tool will confirm whether your change actually took effect. Meta’s troubleshooting guidance points to these same checks before recommending you contact support, and it’s worth following that order. If everything checks out on your end and verification still fails after 72 hours, that’s the point to escalate. Contact your host or registrar first if the issue looks DNS related, and open a Meta support ticket only after ruling out your own setup.
What Verifying Your Domain Actually Unlocks
Verification isn’t paperwork. It’s the gate in front of several features you probably already want to use.
- Pixel and Aggregated Event Measurement. Once your domain is verified, you can configure and prioritize the eight events AEM tracks per domain, which matters more since Apple’s iOS privacy changes limited how much data flows back unprompted. The FexAds glossary breaks down how AEM prioritization affects reporting if you’re new to the concept.
- Commerce and product tagging. Selling through a Facebook or Instagram shop requires a verified domain before product tags will activate, a requirement Ecwid’s platform documentation confirms directly.
- Link preview control. Verification lets you edit how link previews display and reduces the odds of someone else spoofing your domain’s shared links.
- A separate track from business verification. Domain verification proves you control a website. Business verification proves your company is a real, legally registered entity. They use different processes and unlock different capabilities, so completing one doesn’t finish the other.
How FexAds Handles Verification and Tracking Setup for Agents
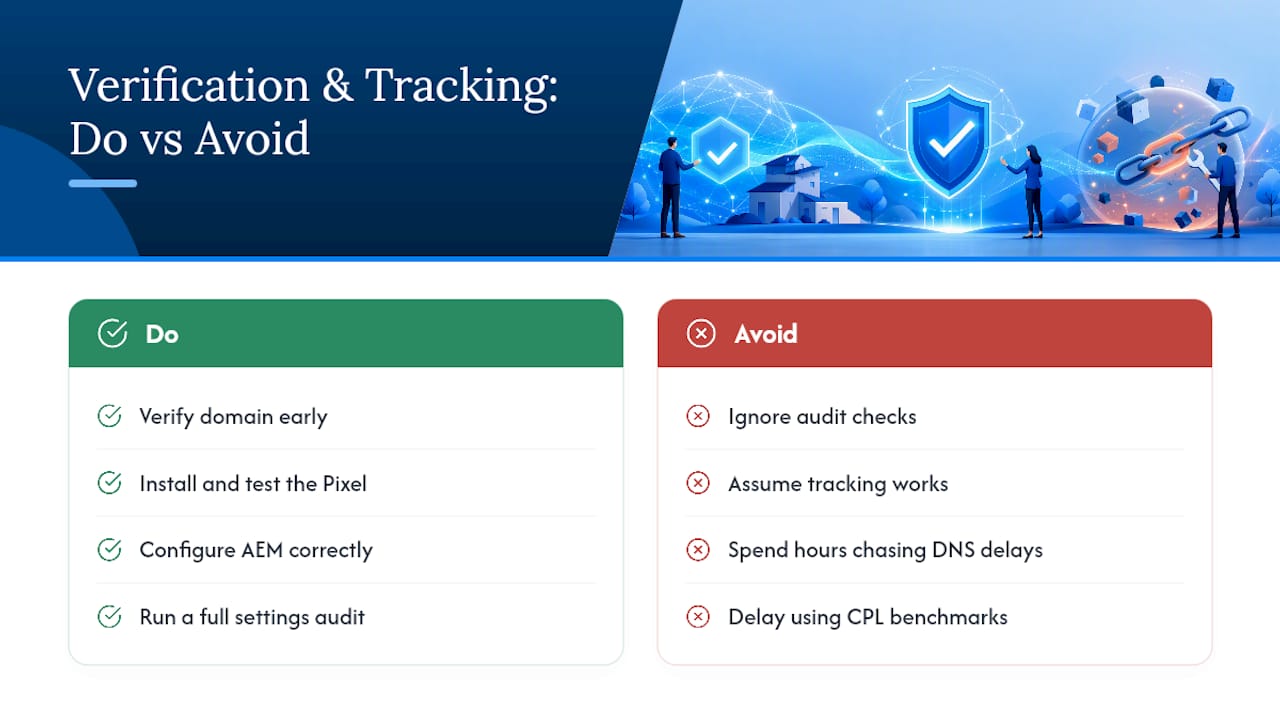
Domain verification is one small piece of a much longer setup checklist, and for a licensed life insurance agent juggling final expense, IUL, or mortgage protection campaigns, it’s easy to get buried under DNS panels instead of writing ad copy. Domain verification, Pixel installation, and AEM configuration are important steps in setting up a new ad account, often accompanied by a full audit of existing settings to catch anything that would silently break tracking later.
That audit matters more than it sounds. A misconfigured Pixel or an unverified domain doesn’t throw a loud error. It just quietly degrades your reporting until your cost-per-lead numbers stop matching reality. FexAds builds state-specific campaign structures for agents, which you can see across the state-by-state ad pages, and pairs that with a CPL calculator so you know what a lead should cost before you’re deep into spending on it. For agents deciding whether to do this themselves or hand it off, the time trade-off usually comes down to how many hours you’re willing to spend chasing a DNS propagation delay versus writing policy quotes.
A Practitioner’s Take on Getting This Right the First Time
DNS TXT is the method to default to whenever you have registrar access. It survives redesigns, platform migrations, and CMS changes that wipe out meta tags without warning. The most common misstep isn’t a wrong record. It’s verifying the domain and then never checking that the Pixel and AEM are actually receiving events afterward. Treat verification as step one of account setup, not a box to check and forget. For agents running regulated ad content, get this right before spend starts, not after you notice the numbers look off.
— Nick
Let FexAds Handle Setup So You Can Focus on Selling Policies
FexAds is the alternative to piecing together your own tracking setup between client calls: full domain verification, Pixel installation, AEM configuration, and a compliance-minded account audit, done once by people who do this daily for licensed agents.
Getting verification wrong doesn’t throw an obvious warning. It just costs you clean data for weeks before you notice your reported cost-per-lead has drifted from what you’re actually paying. Custom campaigns for final expense, IUL, and mortgage protection agents often include domain and Pixel work as part of account setup. Leads typically land in the advertiser’s own ad account, with the data owned by the advertiser. If you’re weighing setup against other lead sources, the lead generation comparison across eight channels is a useful place to start, and small-business owners tackling this kind of technical setup solo may also find this marketing automation checklist helpful for the surrounding pieces. Check the state-specific ad pages to see what a campaign built for your market looks like, or start with the FexAds homepage to get a setup quote.
Where to Find the Official Verification Documentation
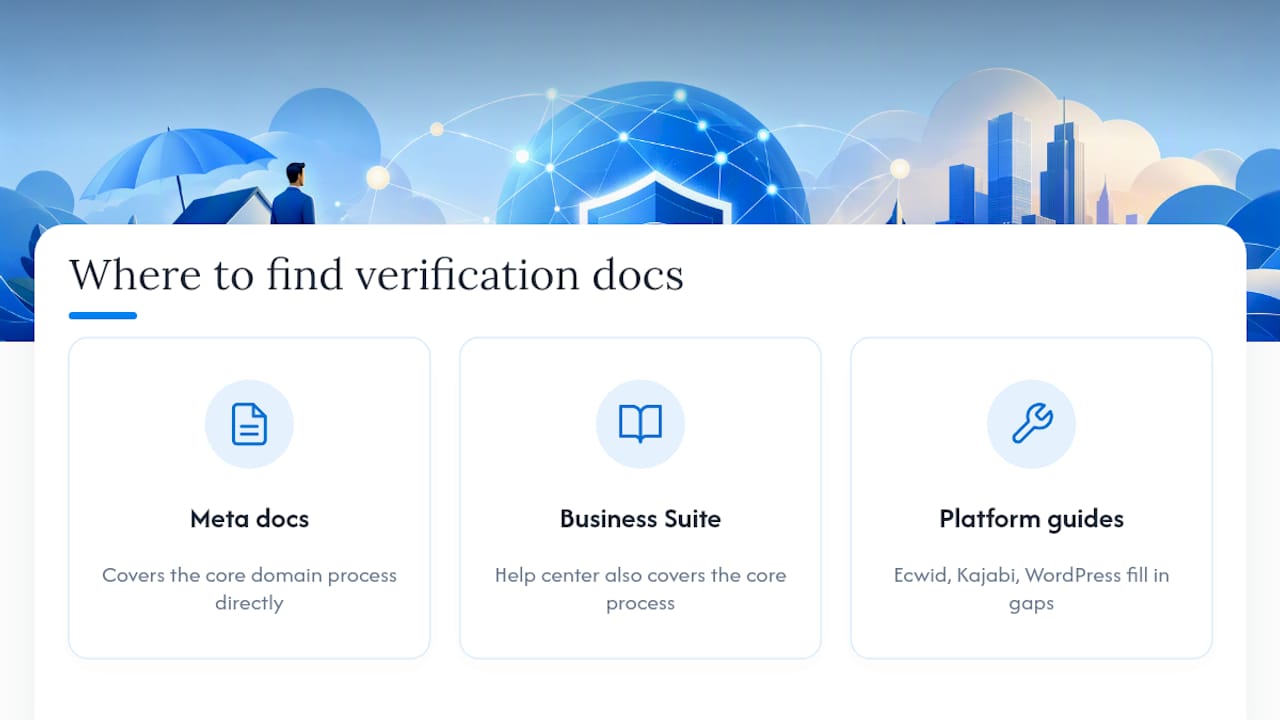
Meta’s own domain verification documentation and Business Suite help center cover the core process directly. Platform-specific instructions from Ecwid, Kajabi, and Wordpress fill in the gaps for readers on those specific site builders.
Sources
- Domain Verification - Meta for Developers - Facebook
- About Domain Verification in Meta Business Suite
- Verifying domain to sell on Facebook and Instagram by Meta (Ecwid)
- Verifying your domain with Facebook (Kajabi)
FAQ
What Is Domain Verification on Facebook?
Domain verification is the process of proving you control a website by adding a DNS TXT record, a meta tag, or an HTML file that Meta checks against your domain. It’s separate from business verification, which confirms your company’s legal identity through documents rather than website access.
Why Is Facebook Asking Me to Verify My Domain?
Facebook requires domain verification before it lets you configure Pixel events for Aggregated Event Measurement, edit link previews, or tag products for sale through Facebook and Instagram shops. Without it, you have limited control over how your links and tracking behave across Meta’s platforms, as Meta’s own explanation of domain verification lays out.
How Do I Get My Domain Verified on Facebook?
Go to Business Settings → Brand safety → Domains, click Add, and enter your root domain without “https://” or “www.” Choose one of three methods (DNS TXT, meta tag, or HTML file), complete the placement, then click Verify, allowing up to 72 hours for DNS changes to fully propagate.
How Do I Verify My Meta Domain if It Keeps Failing?
Recheck that you entered the root domain with no protocol, no “www,” and no subdirectory, since that’s the most common formatting error. If the format is correct, use the Sharing Debugger, view your page source, or run a DNS TXT lookup to confirm the record or tag actually saved before trying Verify again.
Does FexAds Help With Domain and Pixel Verification?
Yes. FexAds handles domain verification, Pixel installation, and AEM setup as part of building out a new ad account for licensed life insurance agents, alongside ongoing campaign management. Details on services and state-specific setup are available on the FexAds state pages.
Recommended
Want us to run your FE ads?
$700 to launch, custom website included. $500 a month flat after that.
Apply now